Introduction
To unleash the power of the rules engine, the data used to determine rule outcomes must be onchain. The O2 API enables you to programmatically push off-chain data onchain in a reliable way. No need to build and maintain the infrastructure yourself. The potential reasons are many, however to make it more concrete let’s cover an example. Consider a trading card game where each card is an NFT. As you utilize these cards in battle they are leveled up, unlocking new attacks, but the card level is stored in offchain metadata. New players are granted a starter pack of these cards to begin playing. Your game has a marketplace to enable players to buy and sell new cards and build out their deck. The crux is that you only want the starter NFTs to be tradeable once they’ve reached a particular level to ensure players are actually participating in the game before they are able to sell their gifted NFTs. As it stands now this rule isn’t possible because the level of the card is not readable onchain. Time to bring it onchain!Pre-requisites
Before you begin, make sure you have the following:- O2 Oracle Dashboard Account: You will need an account in the O2 Oracle dashboard to access your apps and property lists.
- Node.js Installed: The JavaScript examples in this guide require Node.js (18.x or later) to run.
Create Your Property List
The O2 Oracle API deploys a smart contract to store the data you need onchain to power rules. Once you’re logged into the O2 Dashboard, navigate to an existing app or create a new one.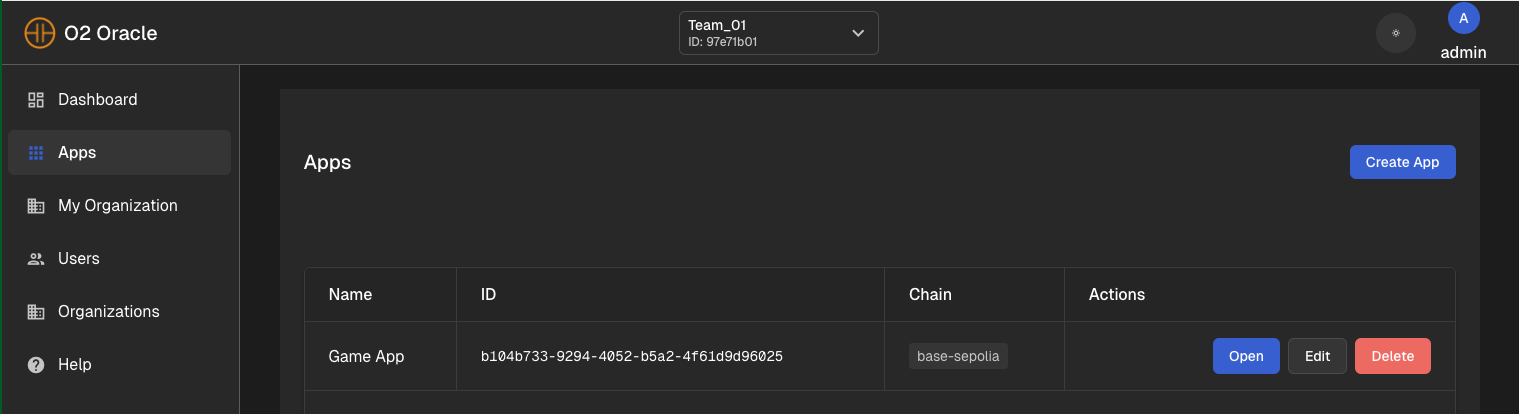
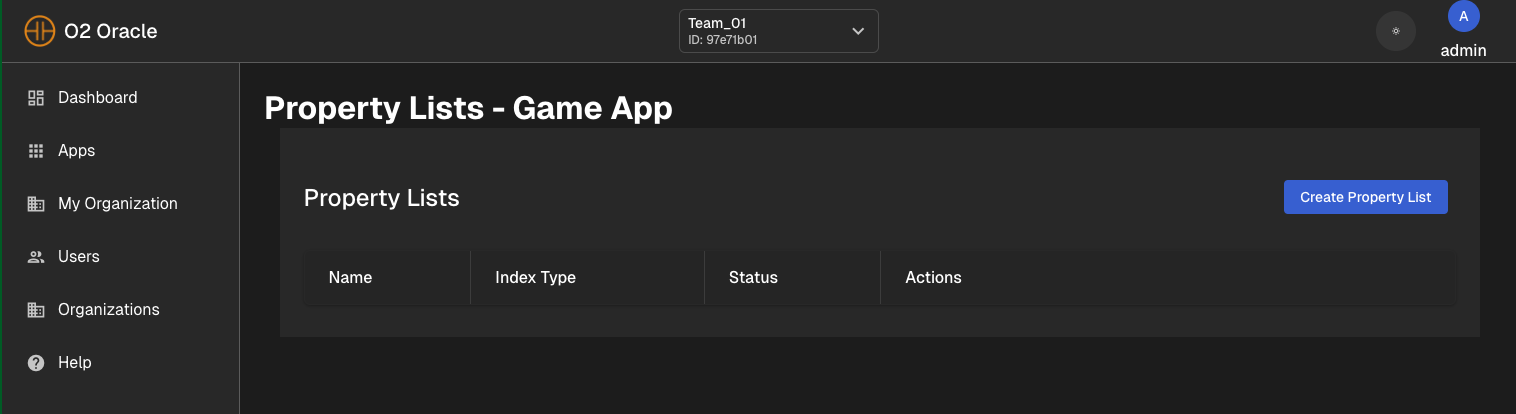
Create Property List button to proceed.
uint256 which represents the tokenId of the specific NFT that has leveled up. The level property is also set as the uint256 type because it will store a simple integer indicating the level of that card.
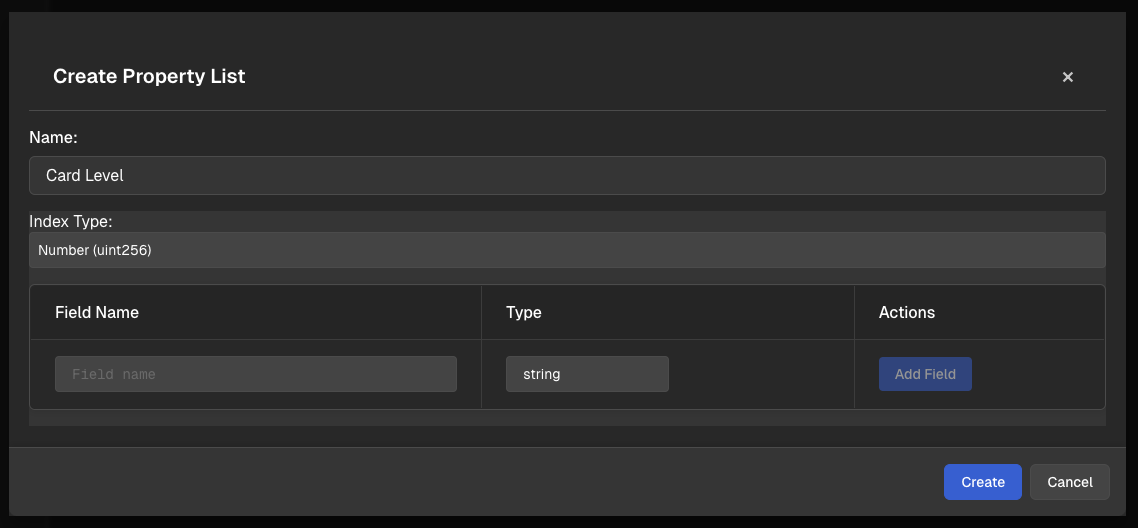
draft. In this example you can go ahead and publish. As you develop more sophisticated property lists you can delay publishing until all of your properties have been drafted and fine tuned.

Push Data Onchain
You can use the same dashboard to add data to the property list, which is useful for quick testing. Let’s look into how to add an item to the property list via API since that best fits the example scenario, but first let’s make sure you have the necessary information to do so:Obtain Access Token
Obtain Access Token
An access token is required to call the API which will add items to the property list. You can obtain this by calling the A successful response will look like this:
/login endpoint with your credentials. Here is a simple JavaScript example:Obtain App ID
Obtain App ID
You need the app ID for the app containing your property list. Use your access token and organization ID from the previous step:A successful response will look like this:Find the app in the response that matches your app’s name. Copy its
id value—this is your app ID for the next step.Obtain Property List ID
Obtain Property List ID
Use your app ID and access token to fetch all property lists for your app:A successful response will look like this:From the response, locate the property list you want to update. Copy its
id value—this is your property list ID for the next step.Add or Update Property List Items
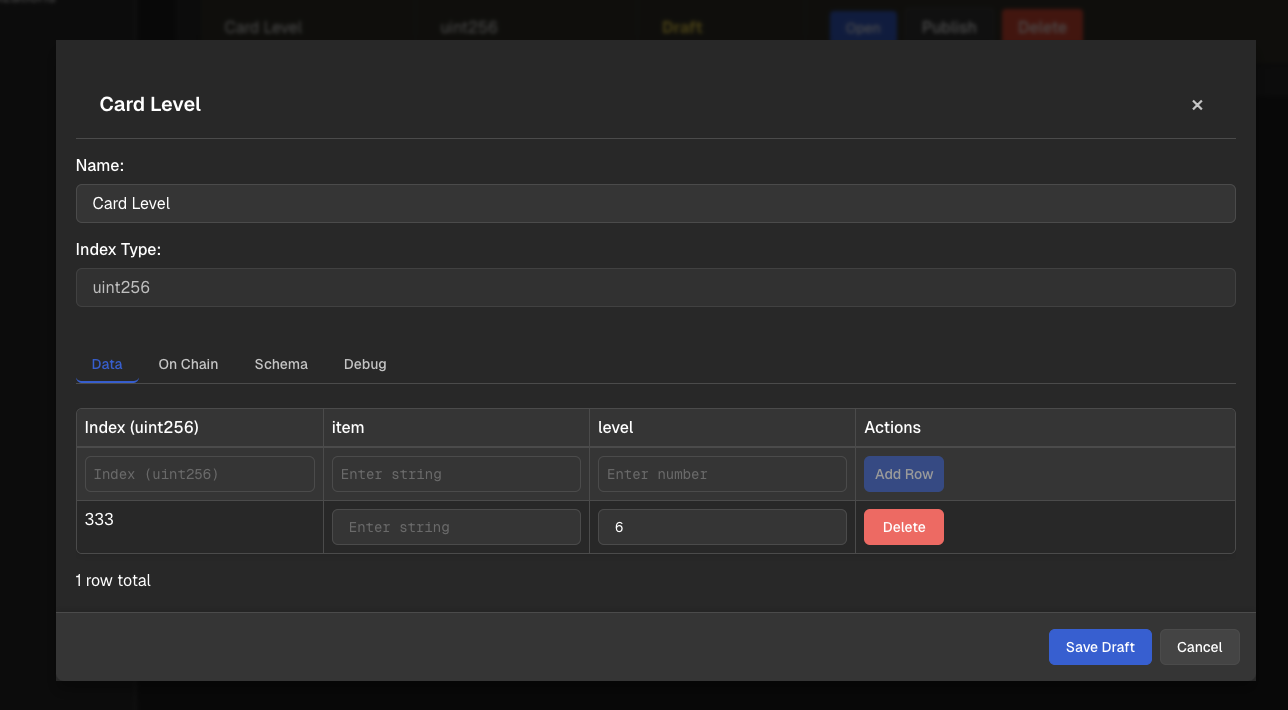
Below you will create or update a property list item. You can pass multiple rows in a single call.The index value for the row items should match the tokenId of the NFT card you intend to level up.
In the example below, the tokenId is 333.
Updating NFT Card Level
The section above can also be used to guide you through updating the card level over time. In fact, you can pass theupdate value for the operation property and if the index/tokenId matches your change will be reflected. You will still need to publish those changes, which is outlined below.
Publishing Properties Onchain
When you’re ready to publish your property list item changes, a single API call will push staged items and make them available for onchain consumption.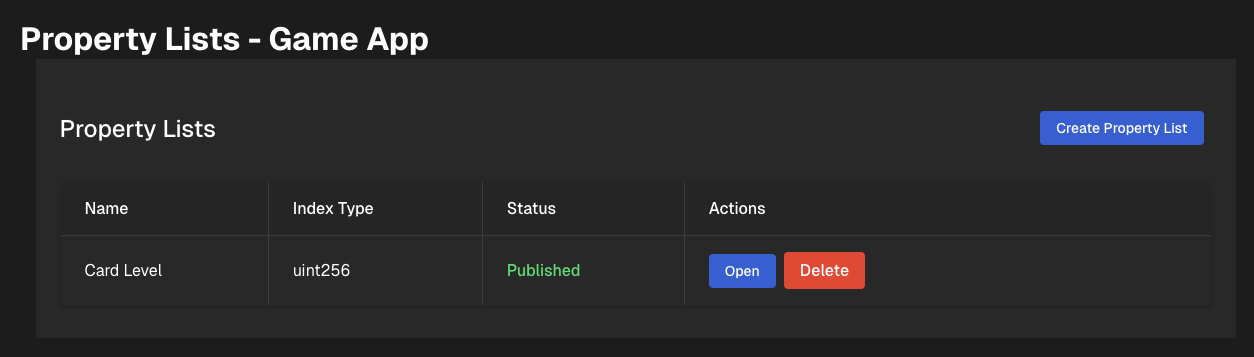
Wrapping Up
Here’s a summary of the full flow:- Authenticate and get your access token and organization ID.
- Use those to get your app ID.
- Use your app ID to get your property list ID.
- Add or update property list items using the API.
- Publish your changes onchain.